Your cart
There are no more items in your cart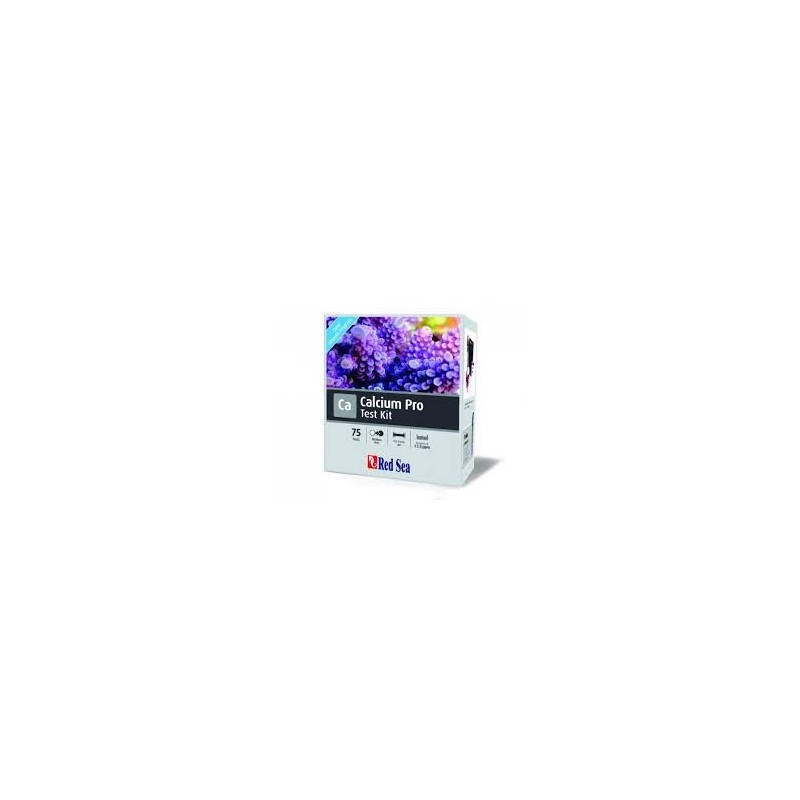

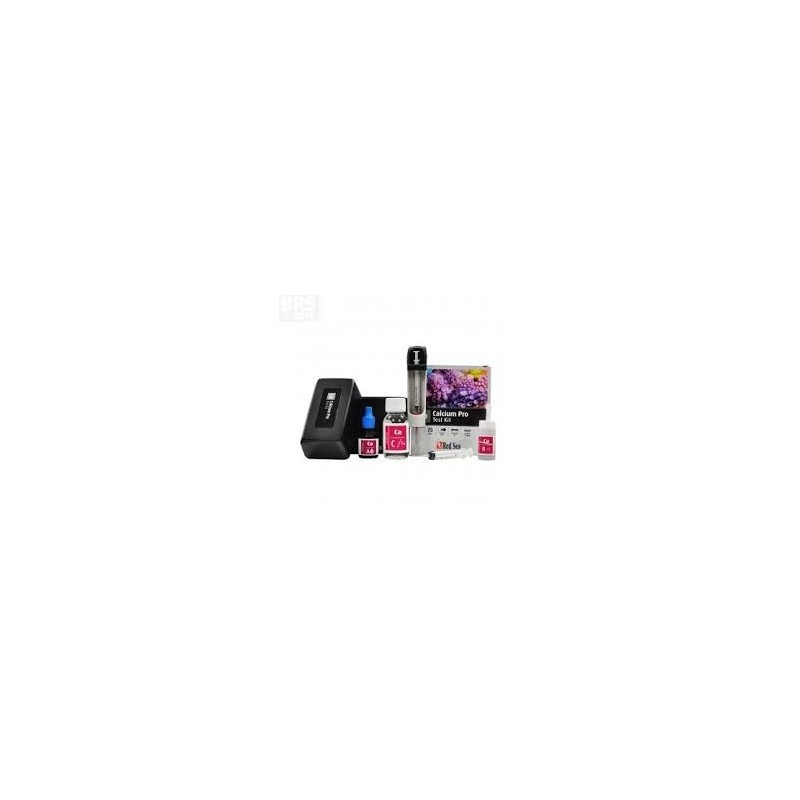
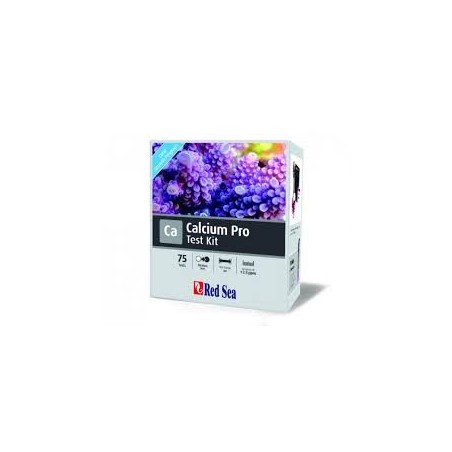
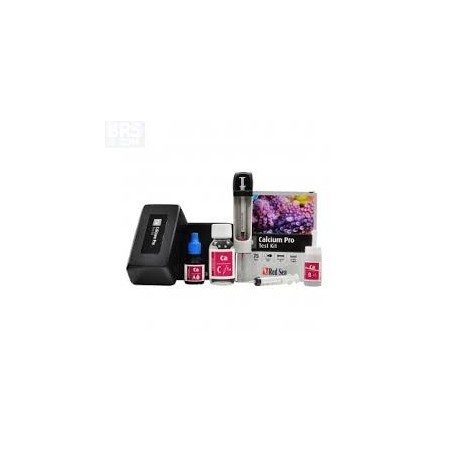
Calcium Pro Titrator Test Kit Red Sea
€36.42
VAT included
High precision football test
75 tests
Sales prices are valid only for online shopping.

Instructions:
1. Using the large syringe supplied, inject exactly 5 ml of water from Test in the glass ampoule.
2. Add 5 drops of Calcium Pro Reagent A and mix slowly with sample of water.
3. Add a Leveled Mail of Calcium Pro Reagent B, close the ampoule with the cap And shake for 20 seconds. The sample test will now have the starting color of the titration as shown on the instruction map.
4. Screw the glass ampoule to the base of the titrant solution.
5. Make sure the needle supplied is located on the 1ml titration syringe and fill With 1 ml of Calcium Pro Titrant (C). [see note about the loading of the syringe to titration]
6. Insert the syringe to the center of the titrant solution so that the graduated series On the side of the syringe is visible. The gradual series degrees are 0.01 ml, Equivalent to 5 ppm of calcium.
7. Add to first 0.6 ml of titrant solution (corresponding to 300ppm of calcium) Pressing the syringe plunger by slowly mixing the titrant solution.
Continue to add the solution gradually, stirring it after each addition, Taking care of color in the ampoule. When the color in the Ampolla approaches At the final color of the instructions card, add a drop at a time to Reach the final color.
Note: If you have added 1ml of Calcium Titrant C without reaching the final color, the calcium concentration of the Water sample is greater than 500 ppm. Fill the syringe again and continue adding the Solution until you reach the final color.
8. Write down the amount of titrant solution used (depending on the initial position and Final of the plunger, not of the liquid surface) and use the table to calculate the Soccer level in the water sample.
9. Publish the amount of solution titrant not used in the Calcium Pro Titrant C bottle.
Tap to zoom